SlingStudio does not support 4K video directly; the highest video resolution that it works with internally is 1080p.
However, you can still use 4K video with SlingStudio productions that you import into Adobe Premiere CC 2018 (Creative Cloud). That's because the SlingStudio import extension for Premiere supports a 4K video "swap out" technology. It works this way:
- Connect your 4K camera to SlingStudio and create a production. Make sure your camera is outputting 1080p to SlingStudio (via HDMI or CameraLink), while your camera is natively recording 4K or higher quality video.
SlingStudio saves the production internally as 1080p video, but your 4K camera simultaneously records video in 4K format onto its designated storage drive. - Use the SlingStudio extension for Adobe Premiere Pro CC to import your SlingStudio production into a Premiere project file.
- During this import, you can provide the file locations for your SlingStudio project, as well as the corresponding original 4K files, and easily swap the 1080p video for the 4K video in Premiere Pro CC.
The audio recording (which is common between the two video files) serves as the synchronization key. - Your production now uses the 4K video files.
Getting started
What do you need?
- A computer with either of these supported operating systems:
- A Mac computer with macOS 10.12 (Sierra) or newer
- A PC with Windows 7 or newer
- Adobe Premiere Pro CC 2018 (Creative Cloud)
- SlingStudio extension for Adobe Premiere Pro CC
- A SlingStudio production created using SlingStudio Console version 1.3.XX or higher (released November 2017)
- This production should have been created with a camera that's capable of 4K (or higher) resolution (or any higher bit rate, or video made with a higher quality video codec, such as ProRes or HEVC).
The 4K video files that correspond with video used in the SlingStudio project need to be available.
Procedure:
- Download and install the SlingStudio extension for Adobe Premiere Pro CC.
- Open Adobe Premiere Pro CC.
- Create a new project.
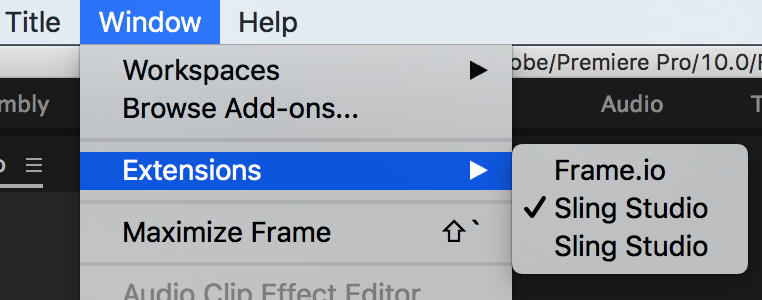
- Go to Window -> Extensions -> SlingStudio
Note: Unlike the image here, your computer should show only one SlingStudio menu option.
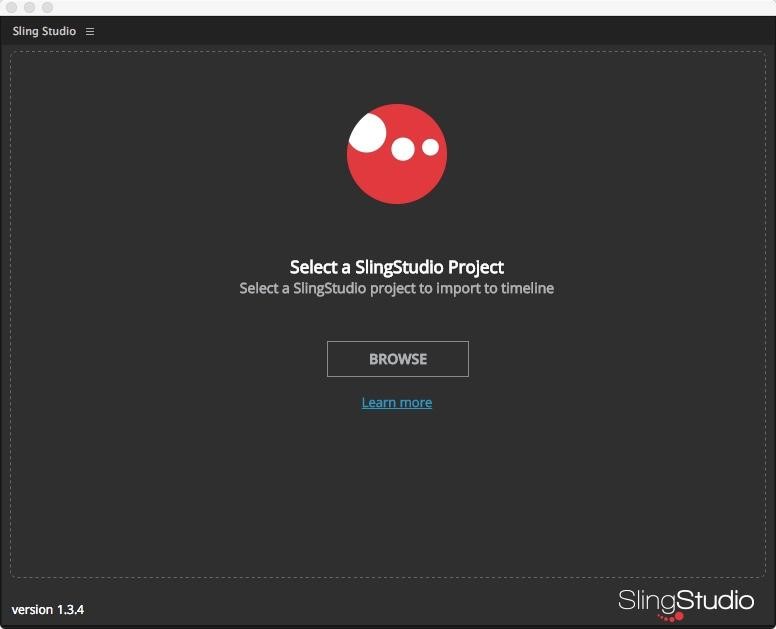
The SlingStudio Extension opens in a new window. You can reposition the window as you prefer. - Click BROWSE to select a SlingStudio project.
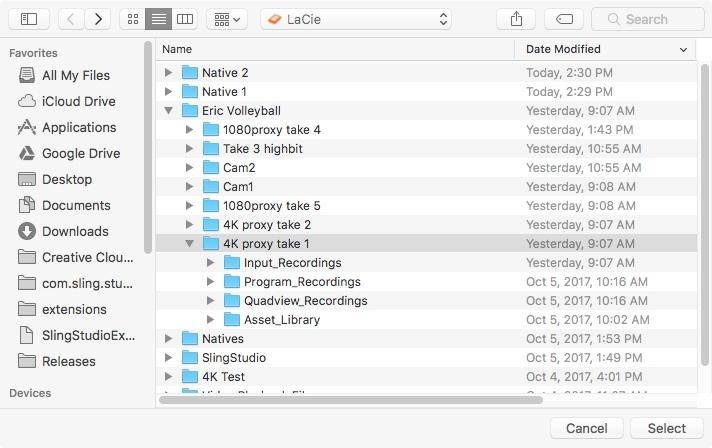
A Finder (macOS) or Windows Explorer (Microsoft Windows) window opens. - Navigate to your SlingStudio project storage location.
- Select the Project folder for the project you wish to import.
IMPORTANT: The SlingStudio project folder must remain intact. You can move it to another storage location but you must make sure that the files and folders inside your project folder are not disturbed or re-named.
- On the next screen, there are two choices:
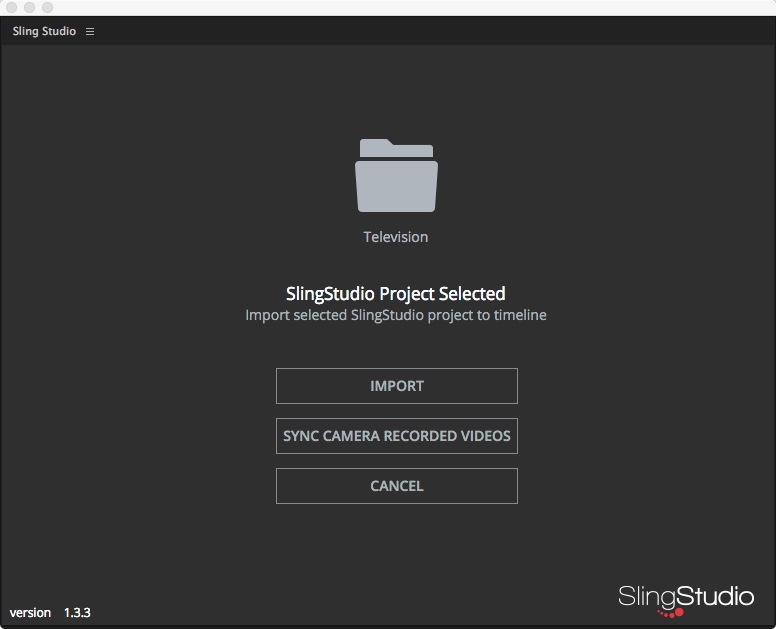
- IMPORT—SlingStudio imports the project and aligns all inputs.
- SYNC CAMERA RECORDED VIDEOS—You can specify an alternate, higher-quality (higher resolution, higher bit rate, etc.) version of your video file that the SlingStudio extension can substitute for the lower-quality video that's in your project. For example, you could substitute 4K video for the 1080p video in your existing SlingStudio project.
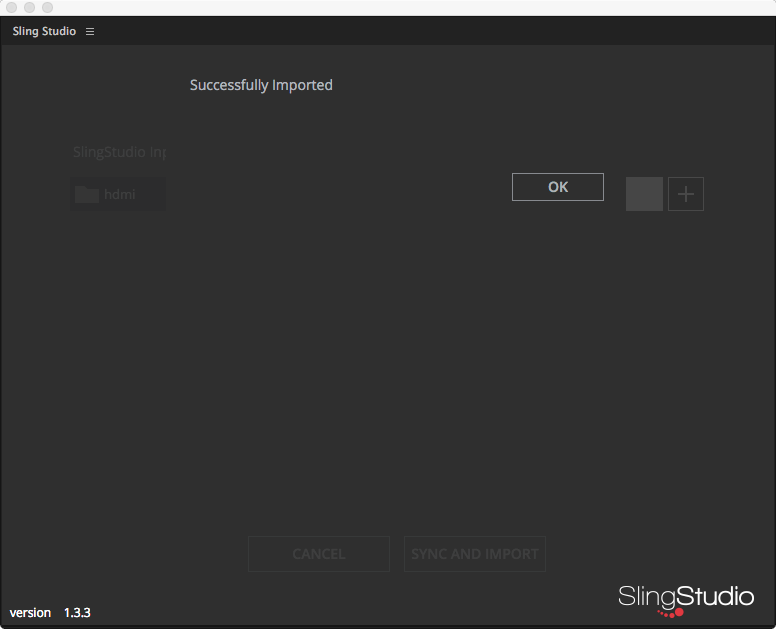
- If you chose to have the video is imported, you see this dialog box:
- If you chose to sync videos, then you see this dialog box:
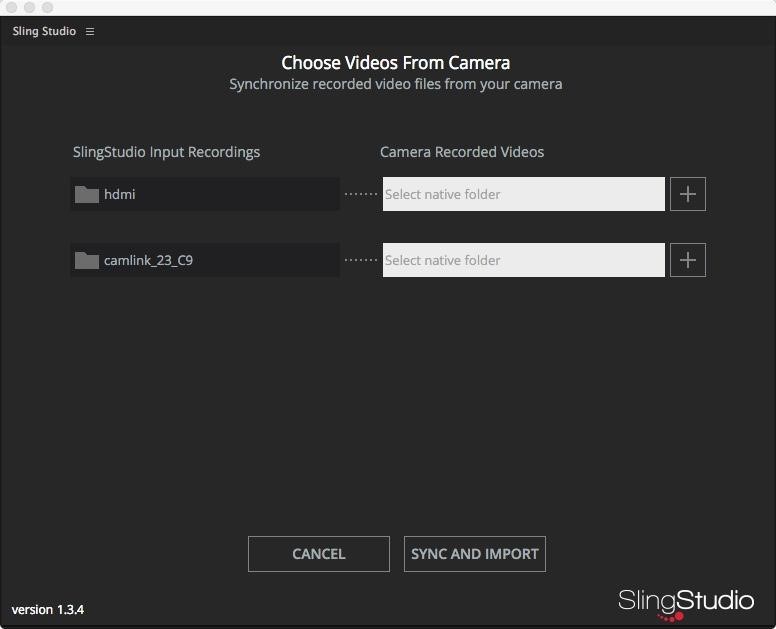
- Select the videos that you want to work with:
- Under SlingStudio Input Recordings, you see the location of your original SlingStudio files (the ones that you want to swap out).
- Under Camera Recorded Videos, choose the files that you'd like to substitute in.
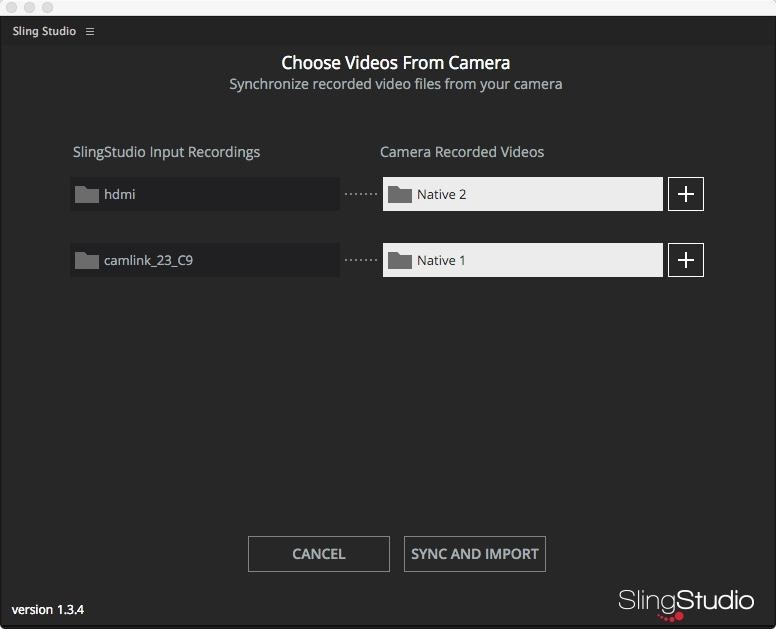
- Click SYNC AND IMPORT.
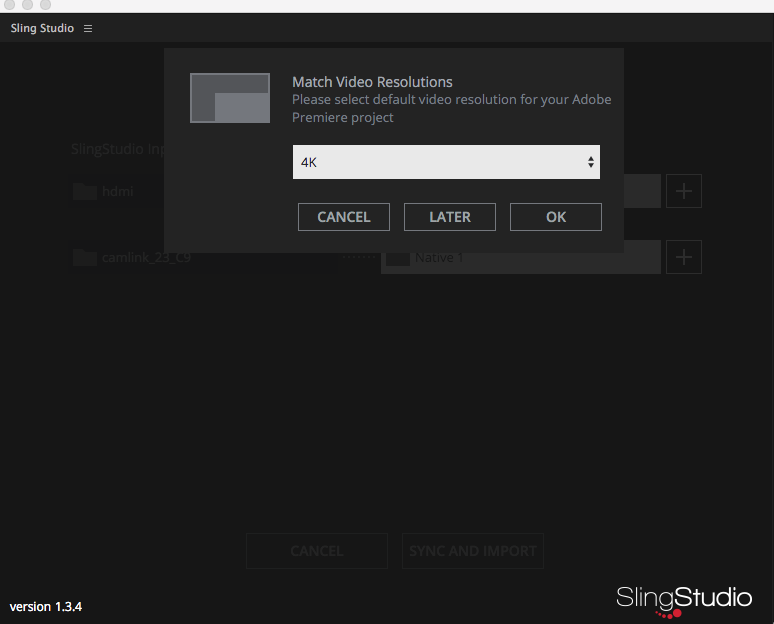
- You are prompted to match the video resolutions of the project.
In the example below the default resolution is 4K (2160p). - Click OK.
- When the import is done, you see this dialog box:

- Your project is imported into your Adobe Premiere project automatically and a new sequence is created.
This sequence replicates all of the editing actions you performed on SlingStudio.

Note: This does not relocate the original video files. If you would like to relocate the files, use the Adobe Premiere Make Offline function. - Double-click the sequence to open it.
Upon opening you find the videos that you recorded during the project have been populated on the timeline. - By default your program output is active/enabled. You can easily delete portions of the program and work directly with the sources below or disable certain clips.
- Audio works similarly to video, replicating the audio sequence you created during your production in the Console App.
To substitute native sources for any of SlingStudio recorded versions of those sources:
Disable the SlingStudio video tracks, and enable the native source recordings, by clicking the "eye" icon in the left margin.
All SlingStudio live-to-tape edits, lower thirds, graphics, and so on, automatically transfer to the new high-quality native source recordings.
Important to reiterate:
- The source device with the higher quality video must correspond to one of your SlingStudio project's recorded inputs.
- Both the SlingStudio recording and the higher-quality recording must have identical audio. (Otherwise the SlingStudio import extension won't be able to match and swap the video.)


